Revenue Management
Document Sources
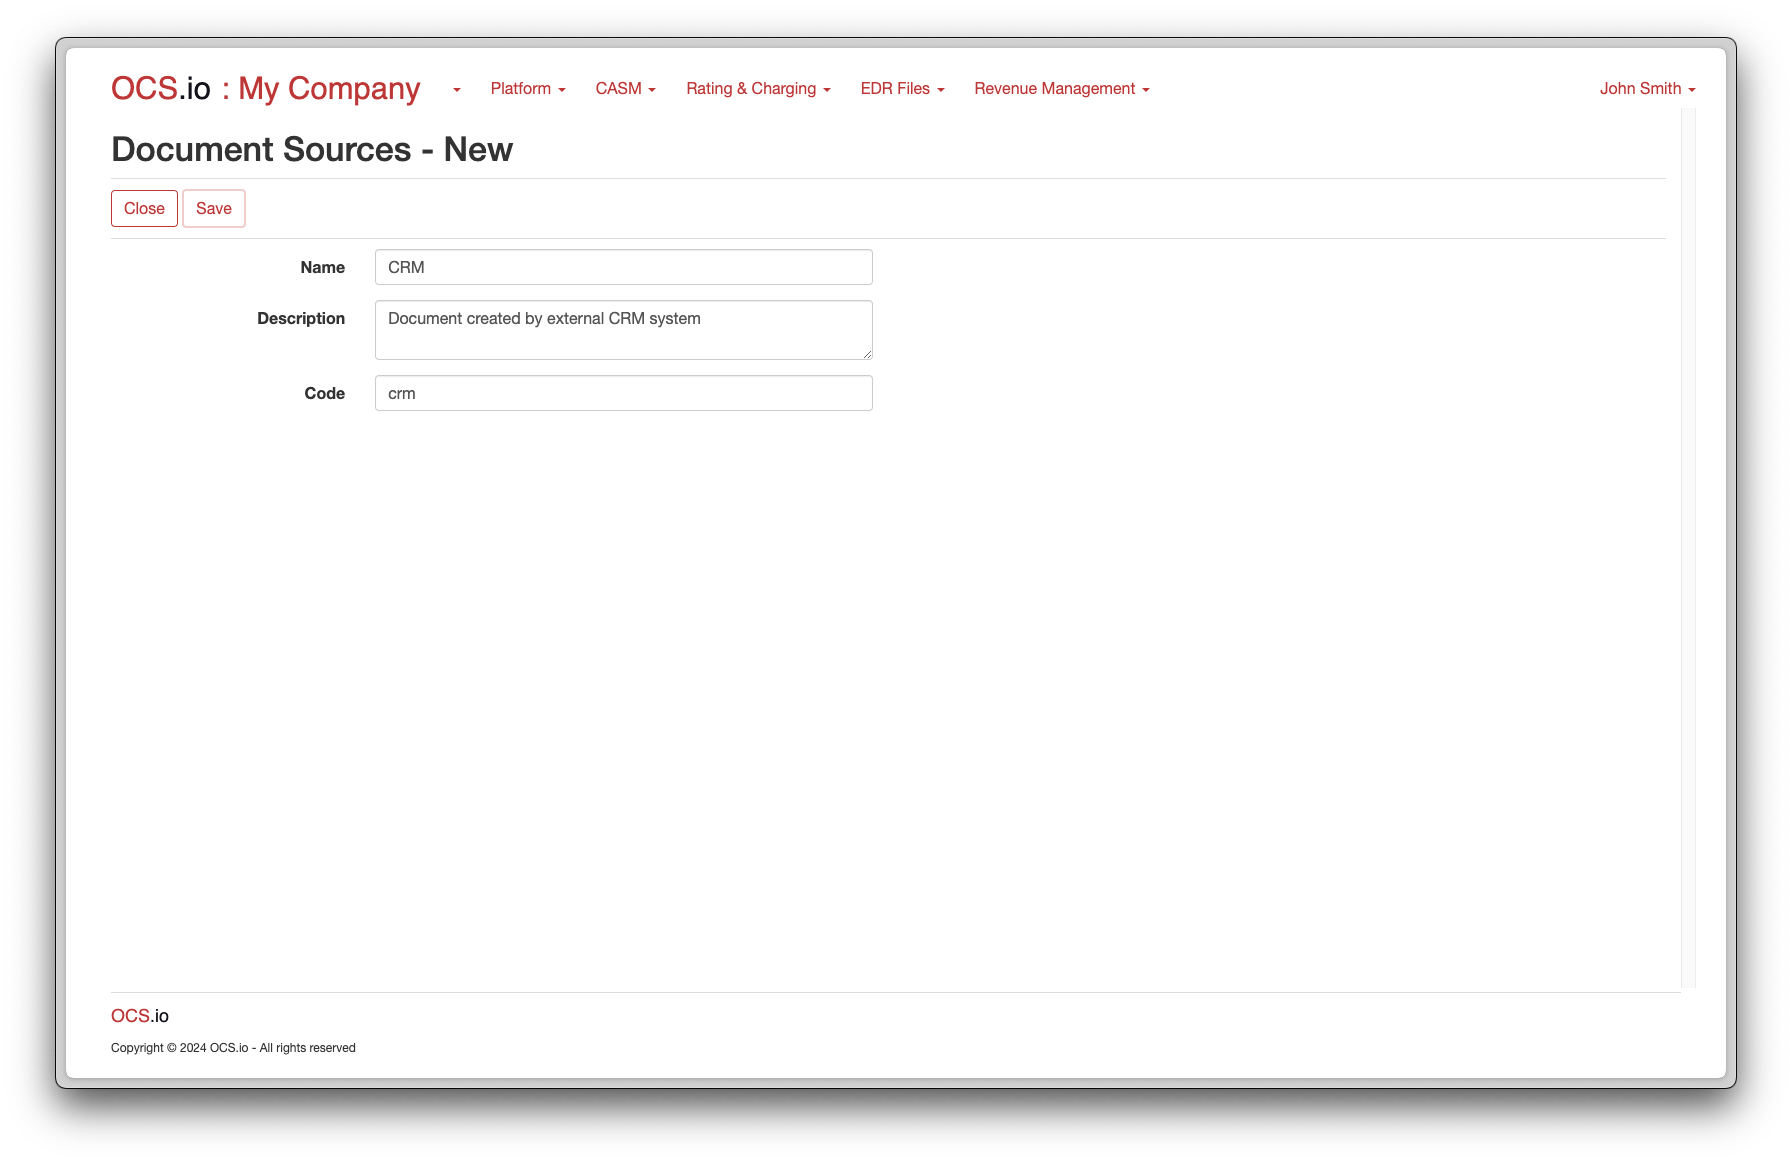
Document Source is an entity defining the source of the document. It could be OCS.io itself, a CRM system, an external financial application, etc. This classification helps in identifying and managing the origin of different documents within the system.
To configure Document Sources, follow these steps:
-
Access the Integration Configuration perspective in your system’s user interface.
-
Select the .
-
Click on the + (New) button to create a new document source.
-
Fill in the required information in the form:
| Item | Description |
|---|---|
Name |
Enter the name of the Document Source. |
Description |
Optionally, enter the description of the Document Source. |
Code |
Enter the code of the Document Source. This code is used for integrating purposes and may not be changed later. |
Document Types
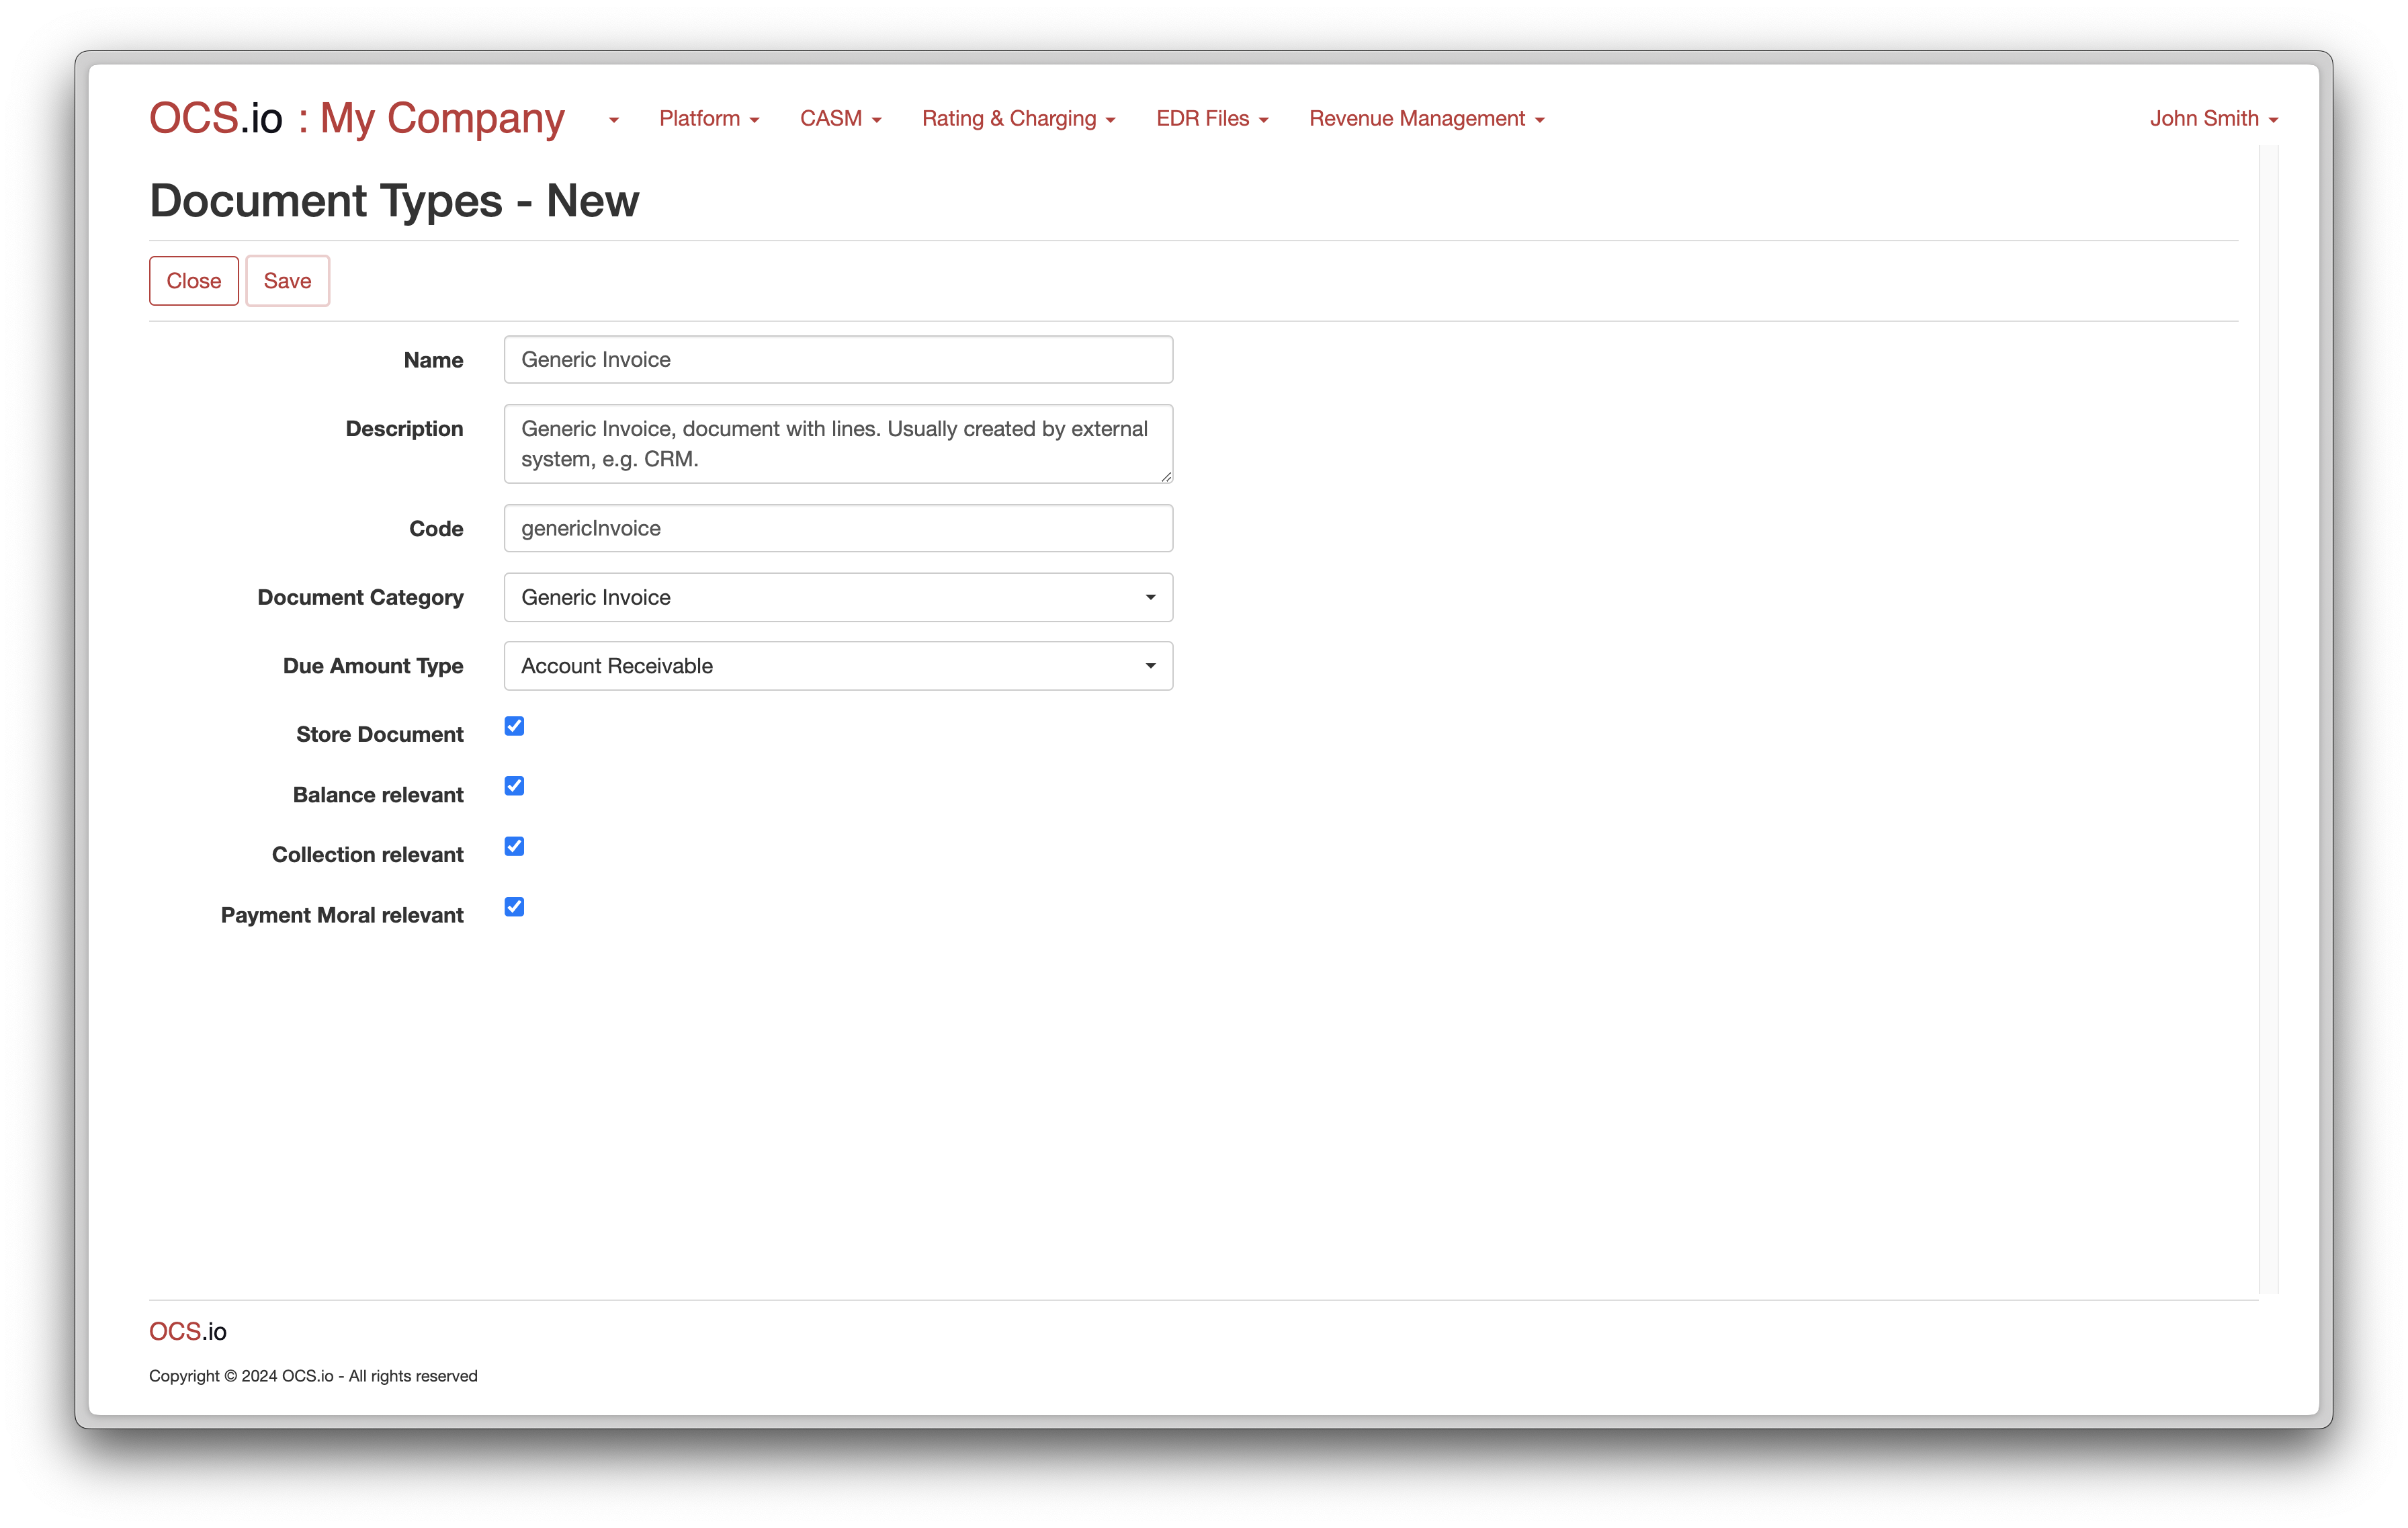
Document Type is an entity defining the type of documents maintained in the OCS.io. It could be an OCS Invoice, Generic Invoice, Corrective Tax Document, Deposit, etc. This classification helps in organizing and managing different kinds of documents within the system.
To configure Document Types, follow these steps:
-
Access the Integration Configuration perspective in your system’s user interface.
-
Select the .
-
Click on the + (New) button to create a new document type.
-
Fill in the required information in the form:
| Item | Description |
|---|---|
Name |
Enter the name of the Document Type. |
Description |
Optionally, enter the description of the Document Type. |
Code |
Enter the code of the Document Type. This code is used for integrating purposes and may not be changed later. |
Document Category |
Select the category of the Document Type.
|
Due Amount Type |
Select the type of the Due Amount.
|
Store Document |
If checked, Document of this Type in JSON format will be stored. |
Collection relevant |
If checked, Document of this Type will be included in the collection process. |
Payment Moral relevant |
If checked, Document of this Type will be included in the calculation of Payment Moral. |
Payment Methods
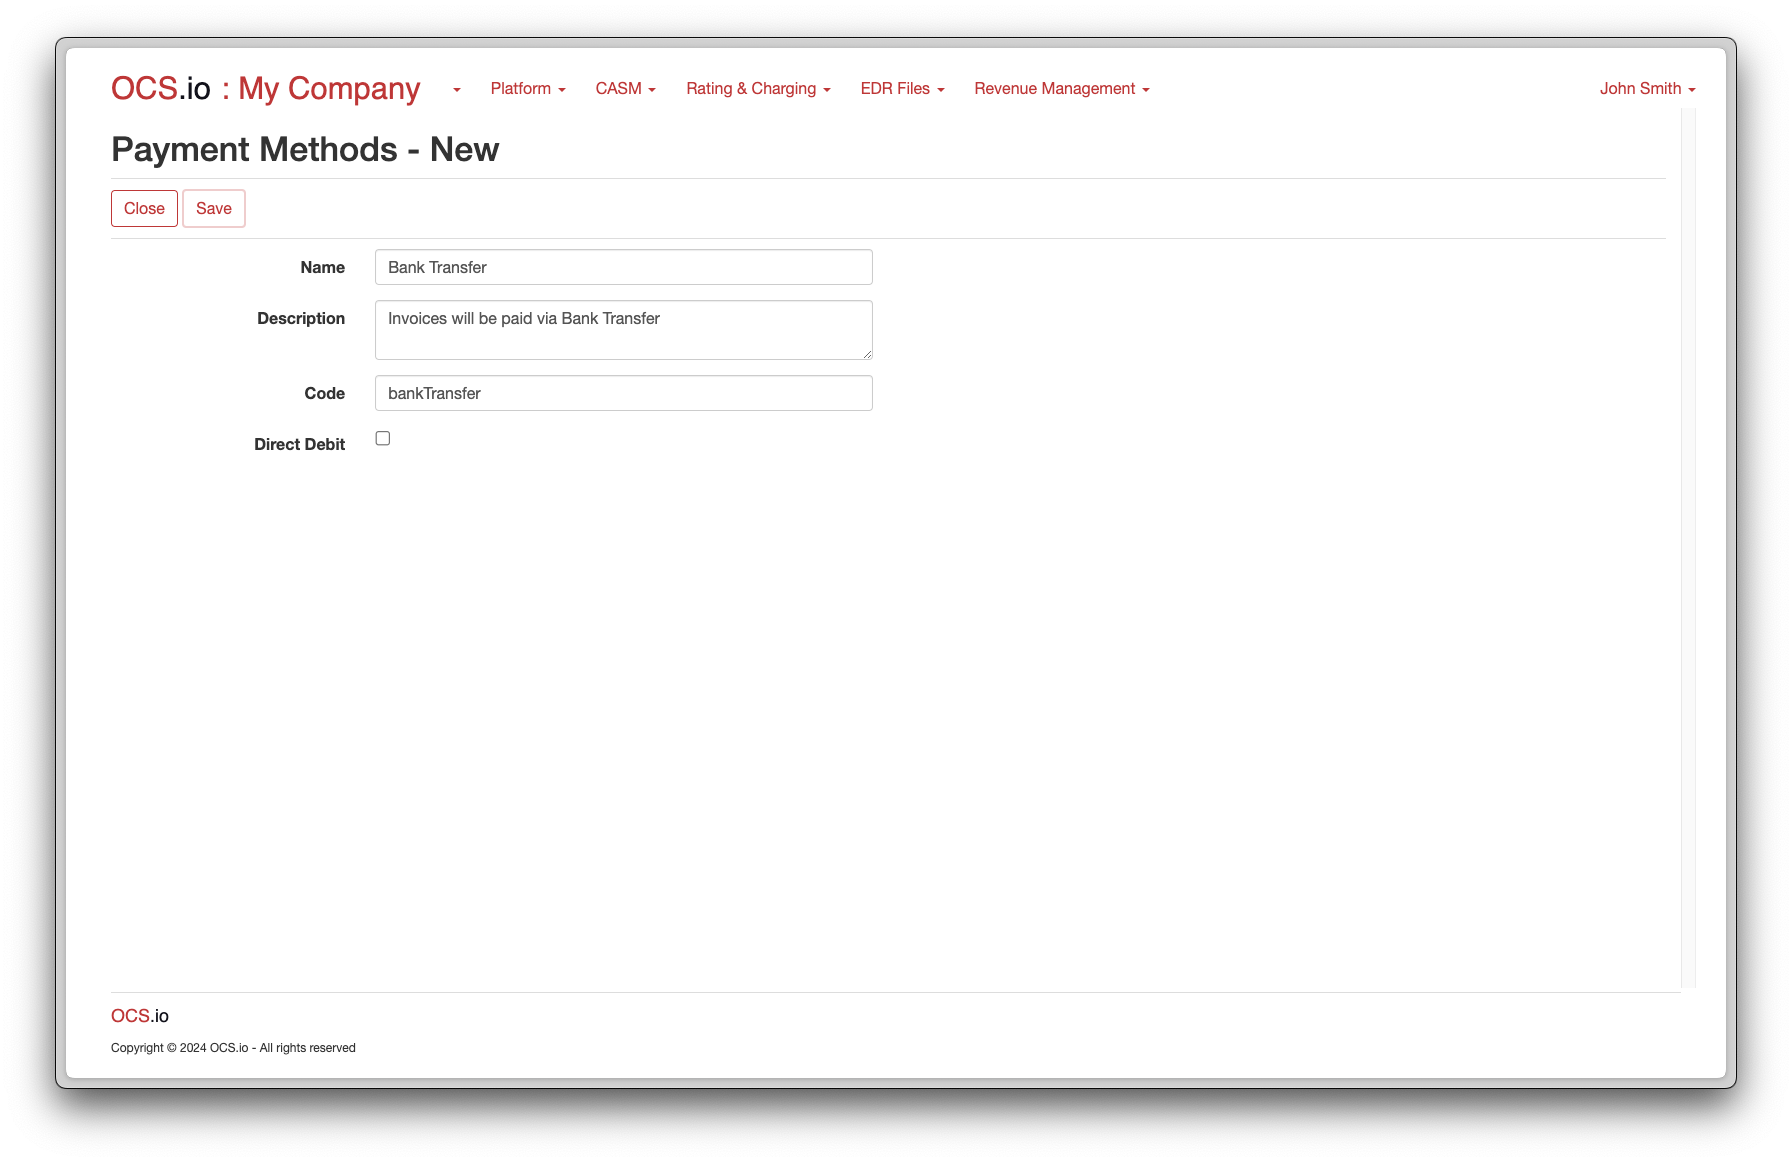
In OCS.io, Payment Method refers to the different ways in which a customer can make a payment. Users can configure the list of available Payment Methods in the system, and these methods are often used by OCS.io implemented Revenue Management processes related to payment processing.
Examples of Payment Methods configured in OCS.io include Bank Transfer, Direct Debit, Credit Card, and PayPal, among others. The Payment Method a customer selects will determine the specific steps and processes involved in the payment processing.
The configuration of Payment Methods in OCS.io is typically done based on each organization’s specific needs and requirements, taking into account factors such as local regulations, customer preferences, and available payment channels.
To configure Payment Methods, follow these steps:
-
Access the Integration Configuration perspective in your system’s user interface.
-
Select the .
-
Click on the + (New) button to create a new payment method.
-
Fill in the required information in the form:
| Item | Description |
|---|---|
Name |
Enter the name of the Payment Method. |
Description |
Optionally, enter the description of the Payment Method. |
Code |
Enter the code of the Payment Method. This code is used for integrating purposes and may not be changed later. |
Direct Debit |
If checked, Payment Method is considered as Direct Debit and payment will be withdrawn automatically from Payer’s Bank Account. |
Delivery Methods
In OCS.io, the Delivery Method refers to delivering an Invoice to a customer. This can include methods such as email, postal mail, or self-service portals.
The Delivery Method is configurable in OCS.io. This allows users to define the available options for delivering invoices to customers.
When an Invoice is generated in OCS.io, the configured Delivery Method is passed to the Invoice. It is then up to the implementation of the physical Invoice delivery process to interpret and fulfill the delivery method specified in the Invoice. This physical delivery process is outside the scope of OCS.io, as it may vary depending on each organization’s specific requirements and capabilities.
To configure Delivery Methods, follow these steps:
-
Access the Integration Configuration perspective in your system’s user interface.
-
Select the .
-
Click on the + (New) button to create a new delivery method.
-
Fill in the required information in the form:
| Item | Description |
|---|---|
Name |
Enter the name of the Delivery Method. |
Description |
Optionally, enter the description of the Delivery Method. |
Code |
Enter the code of the Delivery Method. This code is used for integrating purposes and may not be changed later. |

Debit Request Types
Debit Request Type
In OCS.io, a Debit Request Type is a pre-defined list of values that specifies the type of payment method that a customer has authorized for automatic debiting. This list of values is used by the system to perform activities related to debiting customer bank accounts.
The Debit Request Type can be either "Direct Debit", "Credit Card", "PayPal", or any other payment method that is supported by the system. When a customer authorizes automatic debiting, they specify which payment method they want to use, and this information is stored as a Debit Request Type in the system.
The Debit Request Type is used by the system to perform a variety of tasks related to debiting customer bank accounts, such as generating payment requests, calculating fees and charges, and updating account balances. The system uses the Debit Request Type to determine which payment gateway or processor to use for processing the payment, as well as to determine any specific rules or regulations that apply to the payment method.
To configure Debit Request Types, follow these steps:
-
Access the Integration Configuration perspective in your system’s user interface.
-
Select the .
-
Click on the + (New) button to create a new debit request type.
-
Fill in the required information in the form:
| Item | Description |
|---|---|
Name |
Enter the name of the Debit Request Type. |
Description |
Optionally, enter the description of the Debit Request Type. |
Code |
Enter the code of the Debit Request Type. This code is used for integrating purposes and may not be changed later. |

Cancellation Reasons
Cancellation Reasons are user-defined codes that can be used to categorize and track why a document or incoming / outgoing payment was canceled. The user can create and manage them to meet their specific business needs.
When a user cancels a document or incoming / outgoing payment, typically in the CRM system, they must select the appropriate Cancellation Reason from a list of available options. This allows the system to track and report on the reasons for cancellations, providing insights into potential problem areas that may require attention.
To configure Cancellation Reasons, follow these steps:
-
Access the Integration Configuration perspective in your system’s user interface.
-
Select the .
-
Click on the + (New) button to create a new cancellation reason.
-
Fill in the required information in the form:
| Item | Description |
|---|---|
Name |
Enter the name of the Cancellation Reason. |
Description |
Optionally, enter the description of the Cancellation Reason. |
Code |
Enter the code of the Cancellation Reason. This code is used for integrating purposes and may not be changed later. |
