Customer, Account & Subscription Management
Account Types
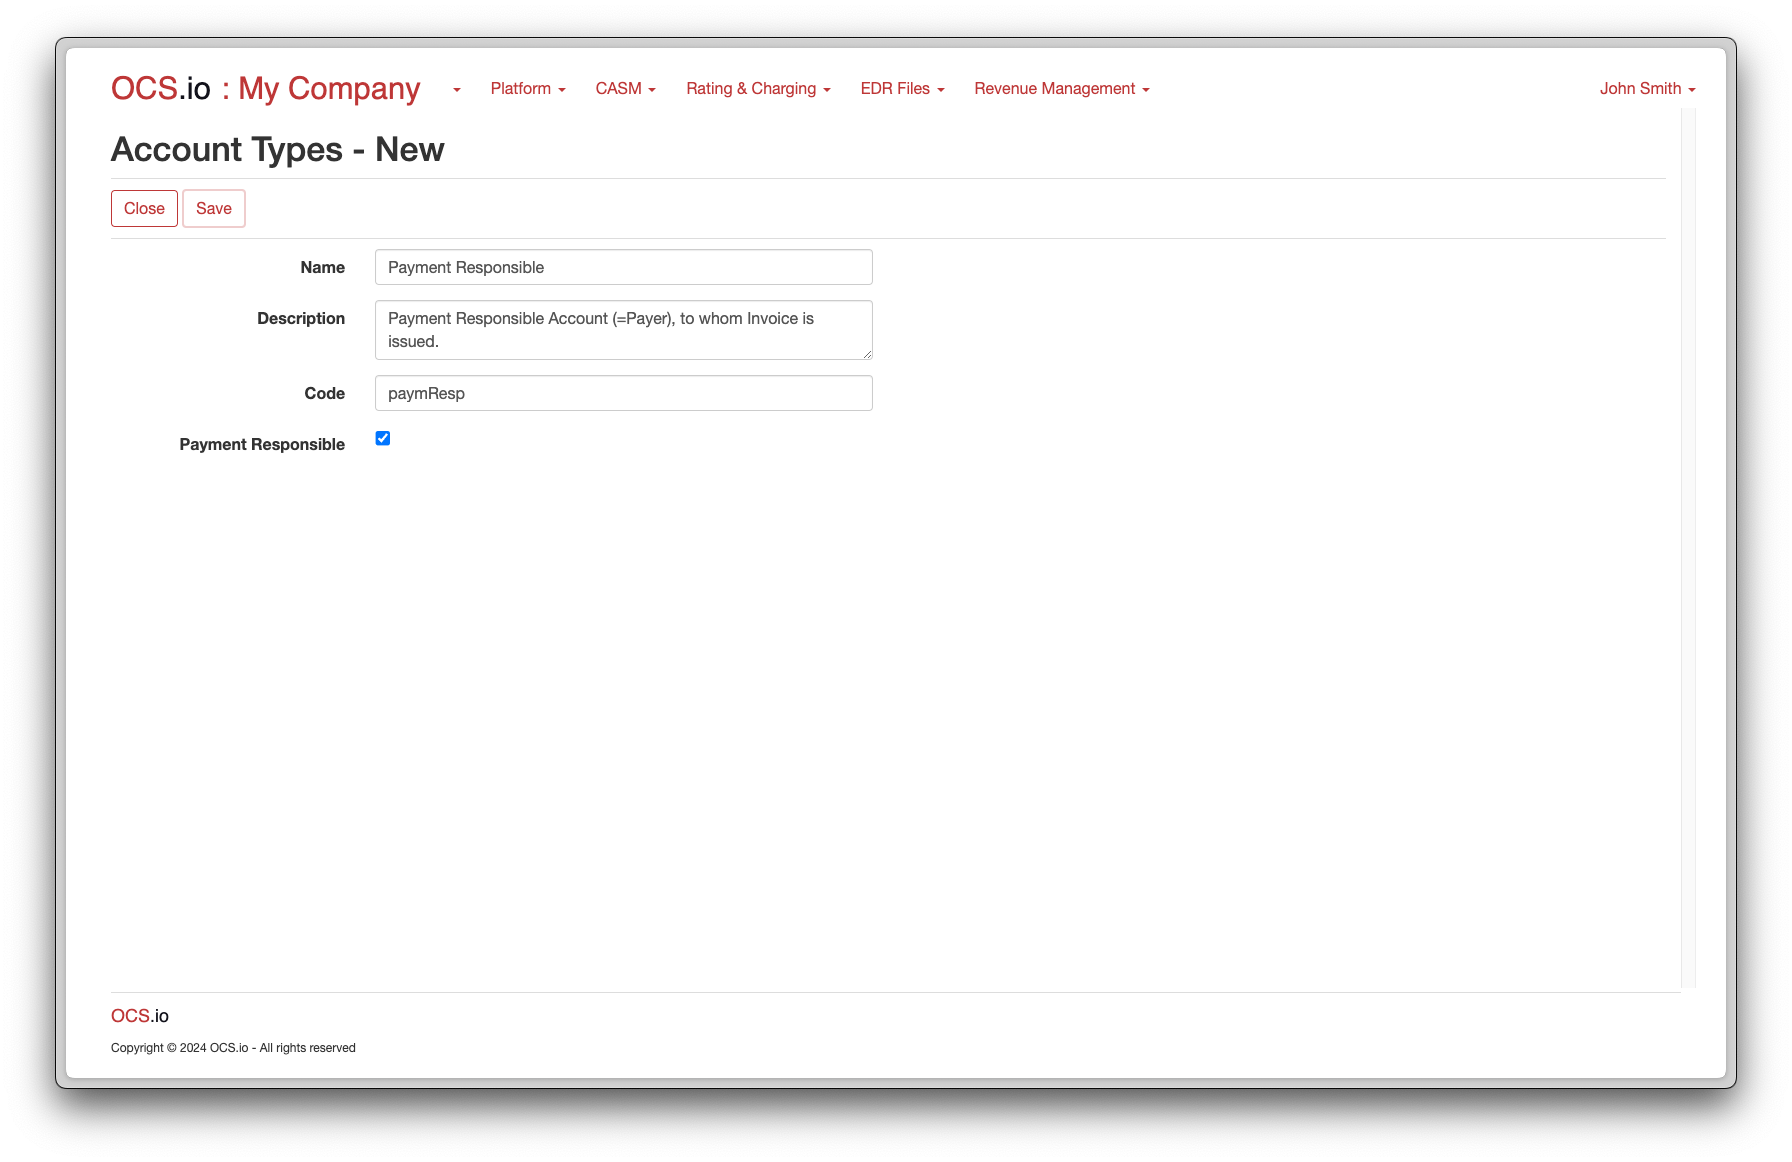
In OCS.io, an Account must be linked with an Account Type. The Account Type determines whether an Account is a Payment Responsible Account or Technical Account within the hierarchy of Accounts. Multiple Account Types may be configured for either Payment Responsible or Technical Account Types.
| A Payment Responsible Account is also known as a Payer within OCS.io. |
To configure Account Types, follow these steps:
-
Access the Integration Configuration perspective in your system’s user interface.
-
Select the .
-
Click on the + (New) button to create a new account type.
-
Fill in the required information in the form:
| Item | Description |
|---|---|
Name |
Enter the name of the Account Type. |
Description |
Optionally, enter the description of the Account Type. |
Code |
Enter the code of the Account Type. This code is used for integrating purposes and may not be changed later. |
Payment Responsible |
If checked, the account of this type is considered as Payment Responsible. |
Resource Types
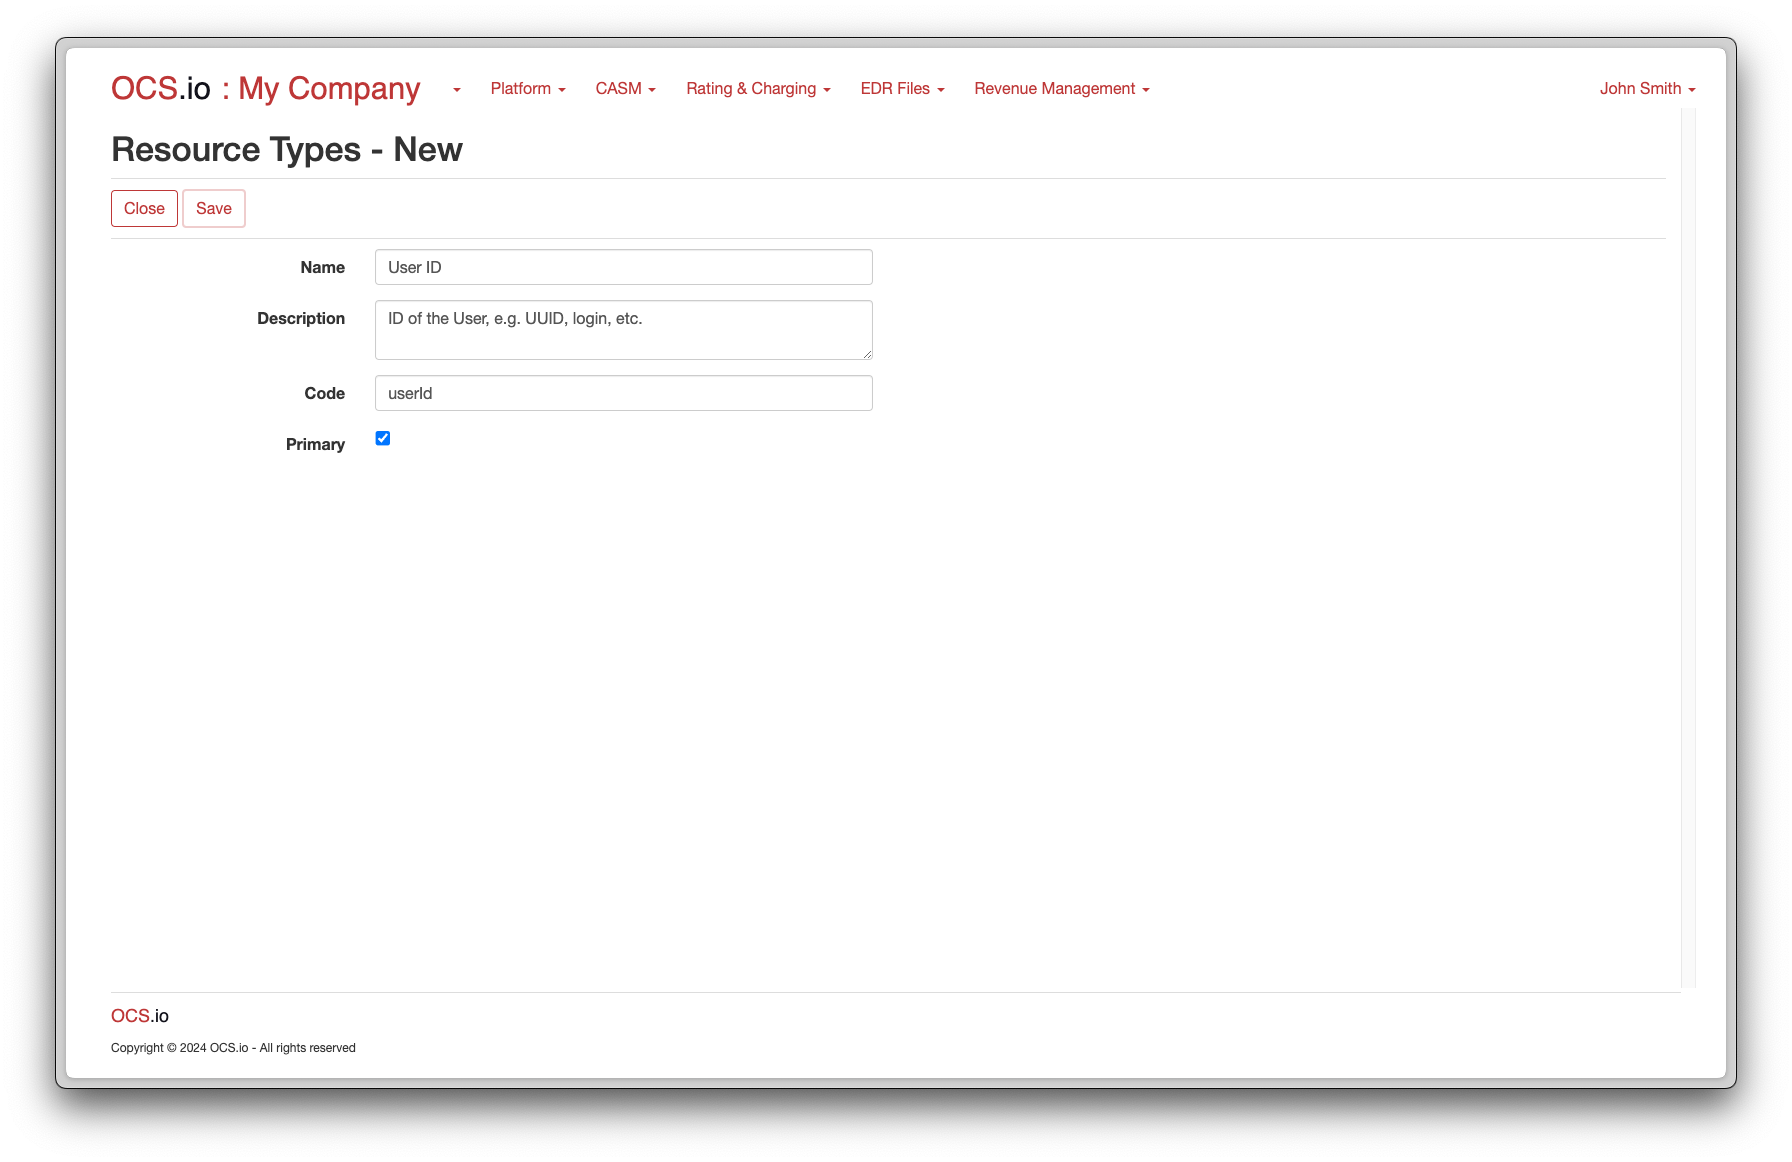
In the context of OCS.io, a Resource Type refers to the type of resources used for guiding events for rating, charging, and billing. A resource can be any relevant entity for billing purposes, such as a physical resource like a SIM Card (represented by IMSI), a virtual resource like a software license, or even a non-tangible resource like an email or a user ID.
To configure Resource Types, follow these steps:
-
Access the Integration Configuration perspective in your system’s user interface.
-
Select the menu .
-
Click on the + (New) button to create a new Resource Type.
-
Fill in the required information in the form:
| Item | Description |
|---|---|
Name |
Enter the name of the Resource Type. |
Description |
Optionally, enter the description of the Resource Type. |
Code |
Enter the code of the Resource Type. This code is used for integrating purposes and may not be changed later. |
Primary |
If checked, this Resource Type is considered as Primary. You can configure only one primary Resource Type. |
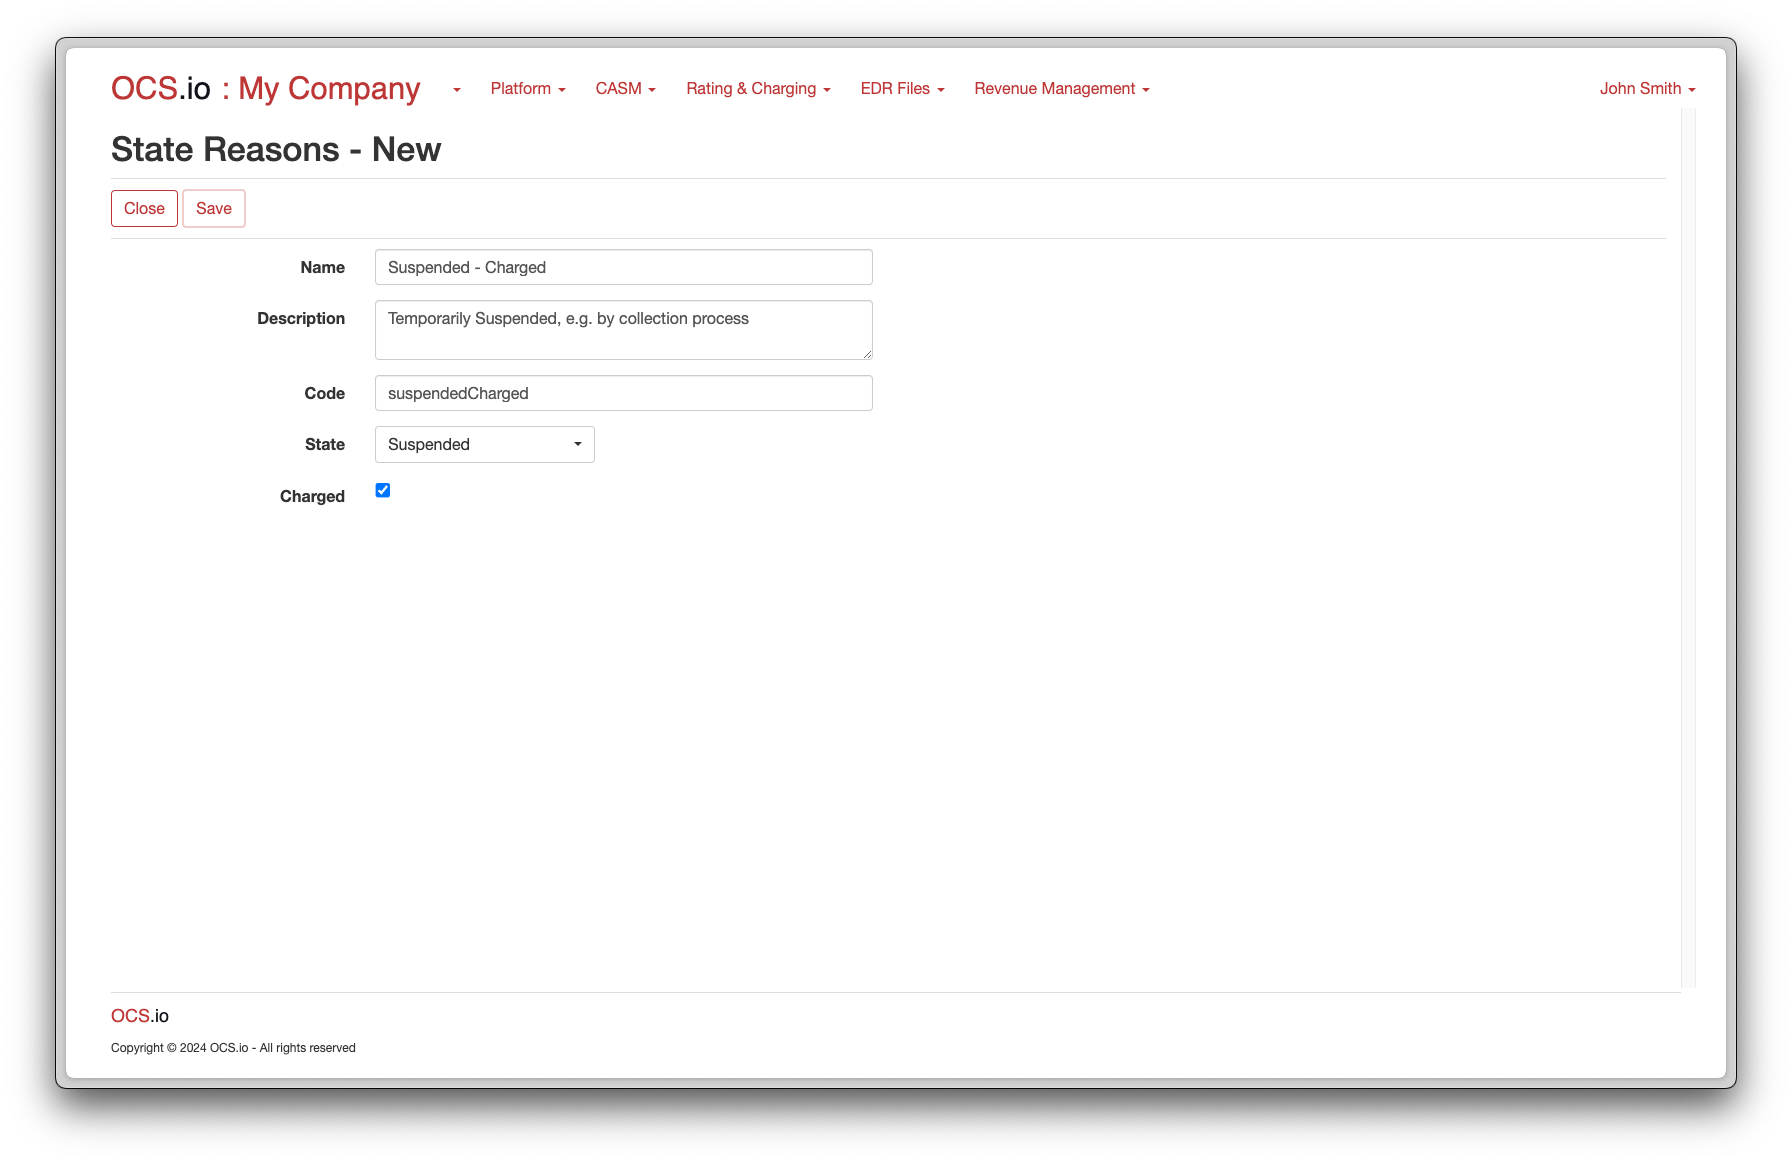
State Reasons
In the context of OCS.io, a State Reason is an additional detail associated with a specific state of an entity, such as a Customer, Account, Subscriber, or Subscription.
A State Reason provides more context about why an entity has entered a specific state. For example, if an Account is in the Suspended state, the State Reason may provide additional information about why the Account was suspended, such as an Invoice has not been paid.
Various State Reasons can be configured in the system, and users can select from a predefined list of reasons when changing the state of an entity. This helps ensure consistency and accuracy in tracking the state of entities.
State Reasons can also be used to trigger automated actions or workflows based on the state of an entity. For example, if an Account enters the Suspended state with a State Reason of "Debt Invoice," the system may automatically trigger an action to notify the Customer to prompt them to settle the due Invoice to reactivate the Account, including all subscriptions.
To configure State Reasons, follow these steps:
-
Access the Integration Configuration perspective in your system’s user interface.
-
Select the menu .
-
Click on the + (New) button to create a new State Reason.
-
Fill in the required information in the form:
| Item | Description |
|---|---|
Name |
Enter the name of the State Reason. |
Description |
Optionally, enter the description of the State Reason. |
Code |
Enter the code of the State Reason. This code is used for integrating purposes and may not be changed later. |
State |
Choose the State for which the Reason is configured. |
Charged |
If checked, this Reason is considered as being charged. |
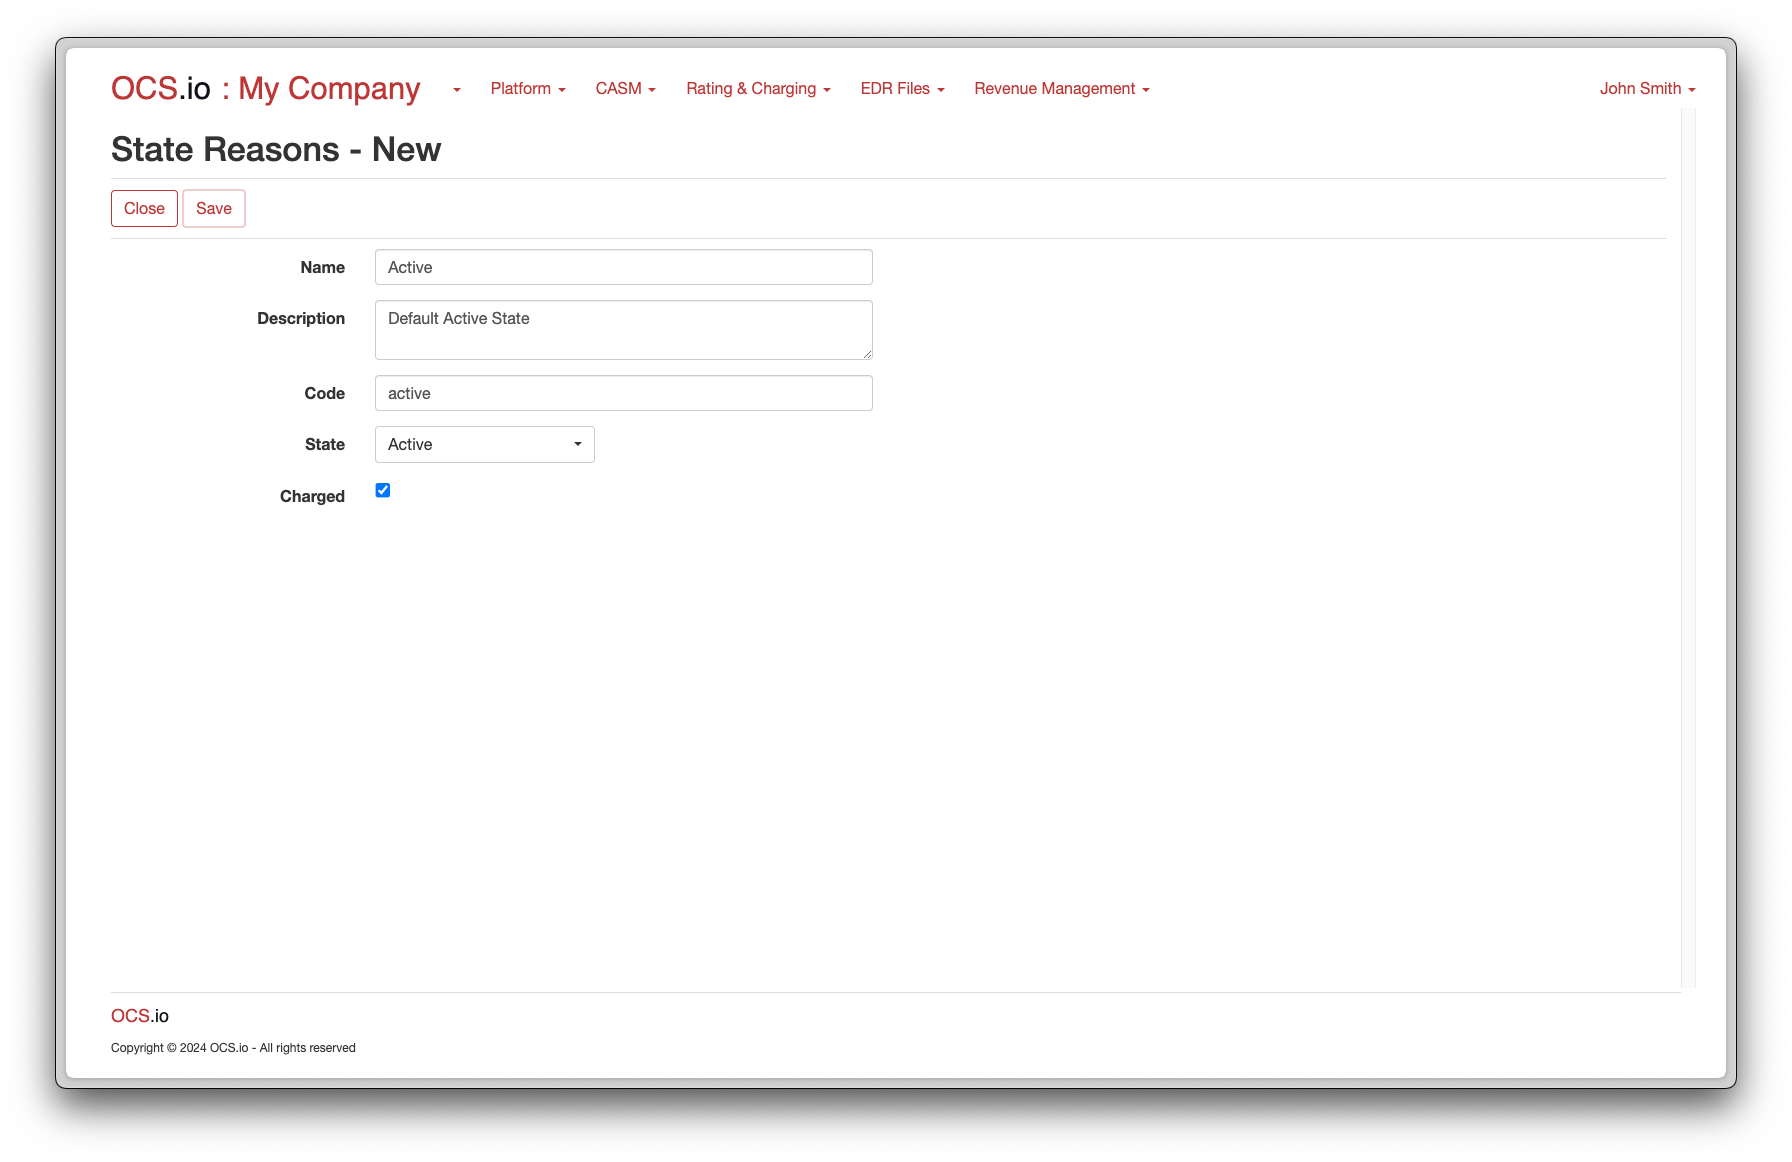
It is recommended to configure multiple reasons for each state. For example, for the Suspended state, you can configure different reasons based on whether the account is charged. One reason could be for when the account is suspended due to debt and ongoing collection processes, and another reason could be for when the account is suspended due to technical difficulties.

Customer Segments
In OCS.io, a Customer can be linked with a Customer Segment to group them based on shared characteristics or attributes. By attaching a customer with a segment, operators can easily target these groups with customized offerings that cater to their specific needs and preferences.
| More about Segments is described here. |
To configure Customer Segments, follow these steps:
-
Access the Integration Configuration perspective in your system’s user interface.
-
Select the .
-
Click on the + (New) button to create a new customer segment.
-
Fill in the required information in the form:
| Item | Description |
|---|---|
Name |
Enter the name of the Customer Segment. |
Description |
Optionally, enter the description of the Customer Segment. |
Code |
Enter the code of the Customer Segment. This code is used for integrating purposes and may not be changed later. |

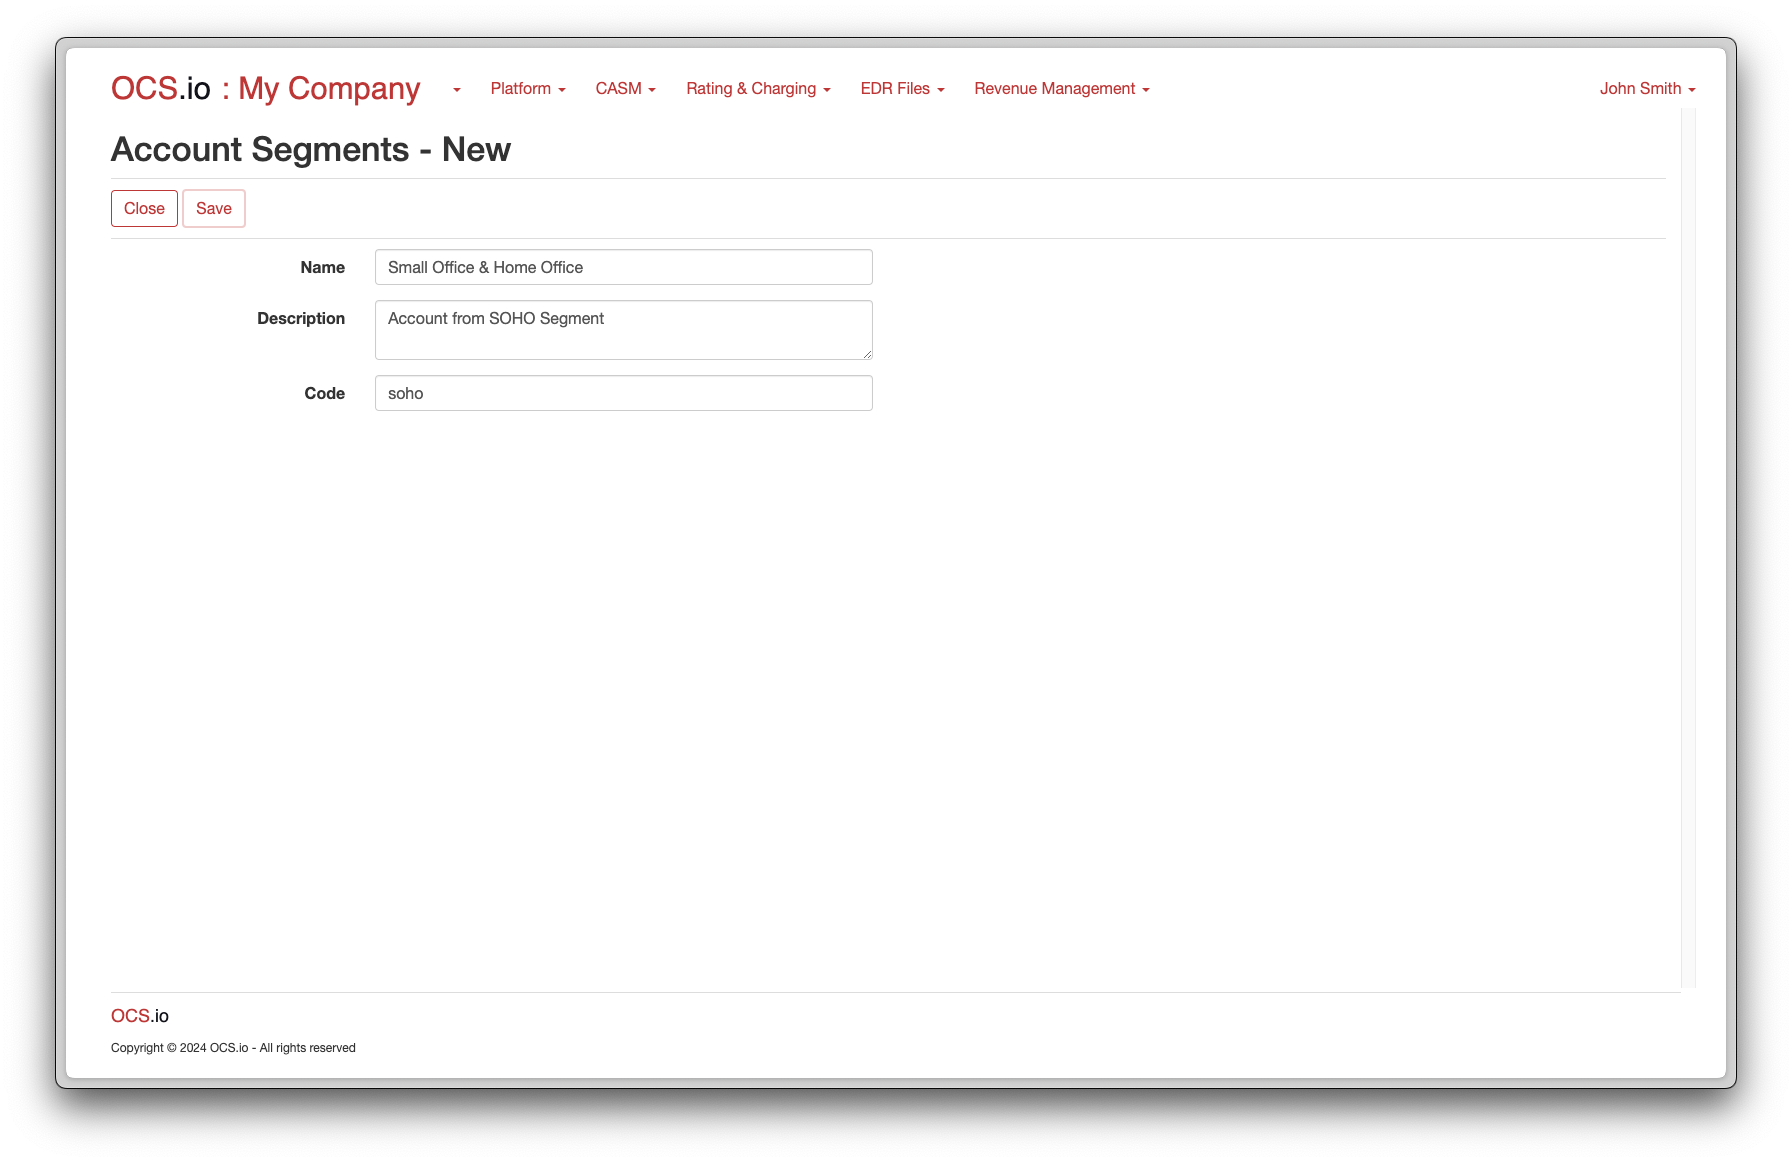
Account Segments
In OCS.io, an Account can be linked with an Account Segment to group them based on shared characteristics or attributes. By attaching an account with a segment, operators can easily target these groups with customized offerings that cater to their specific needs and preferences.
| More about Segments is described here. |
To configure Account Segments, follow these steps:
-
Access the Integration Configuration perspective in your system’s user interface.
-
Select the .
-
Click on the + (New) button to create a new account segment.
-
Fill in the required information in the form:
| Item | Description |
|---|---|
Name |
Enter the name of the Account Segment. |
Description |
Optionally, enter the description of the Account Segment. |
Code |
Enter the code of the Account Segment. This code is used for integrating purposes and may not be changed later. |
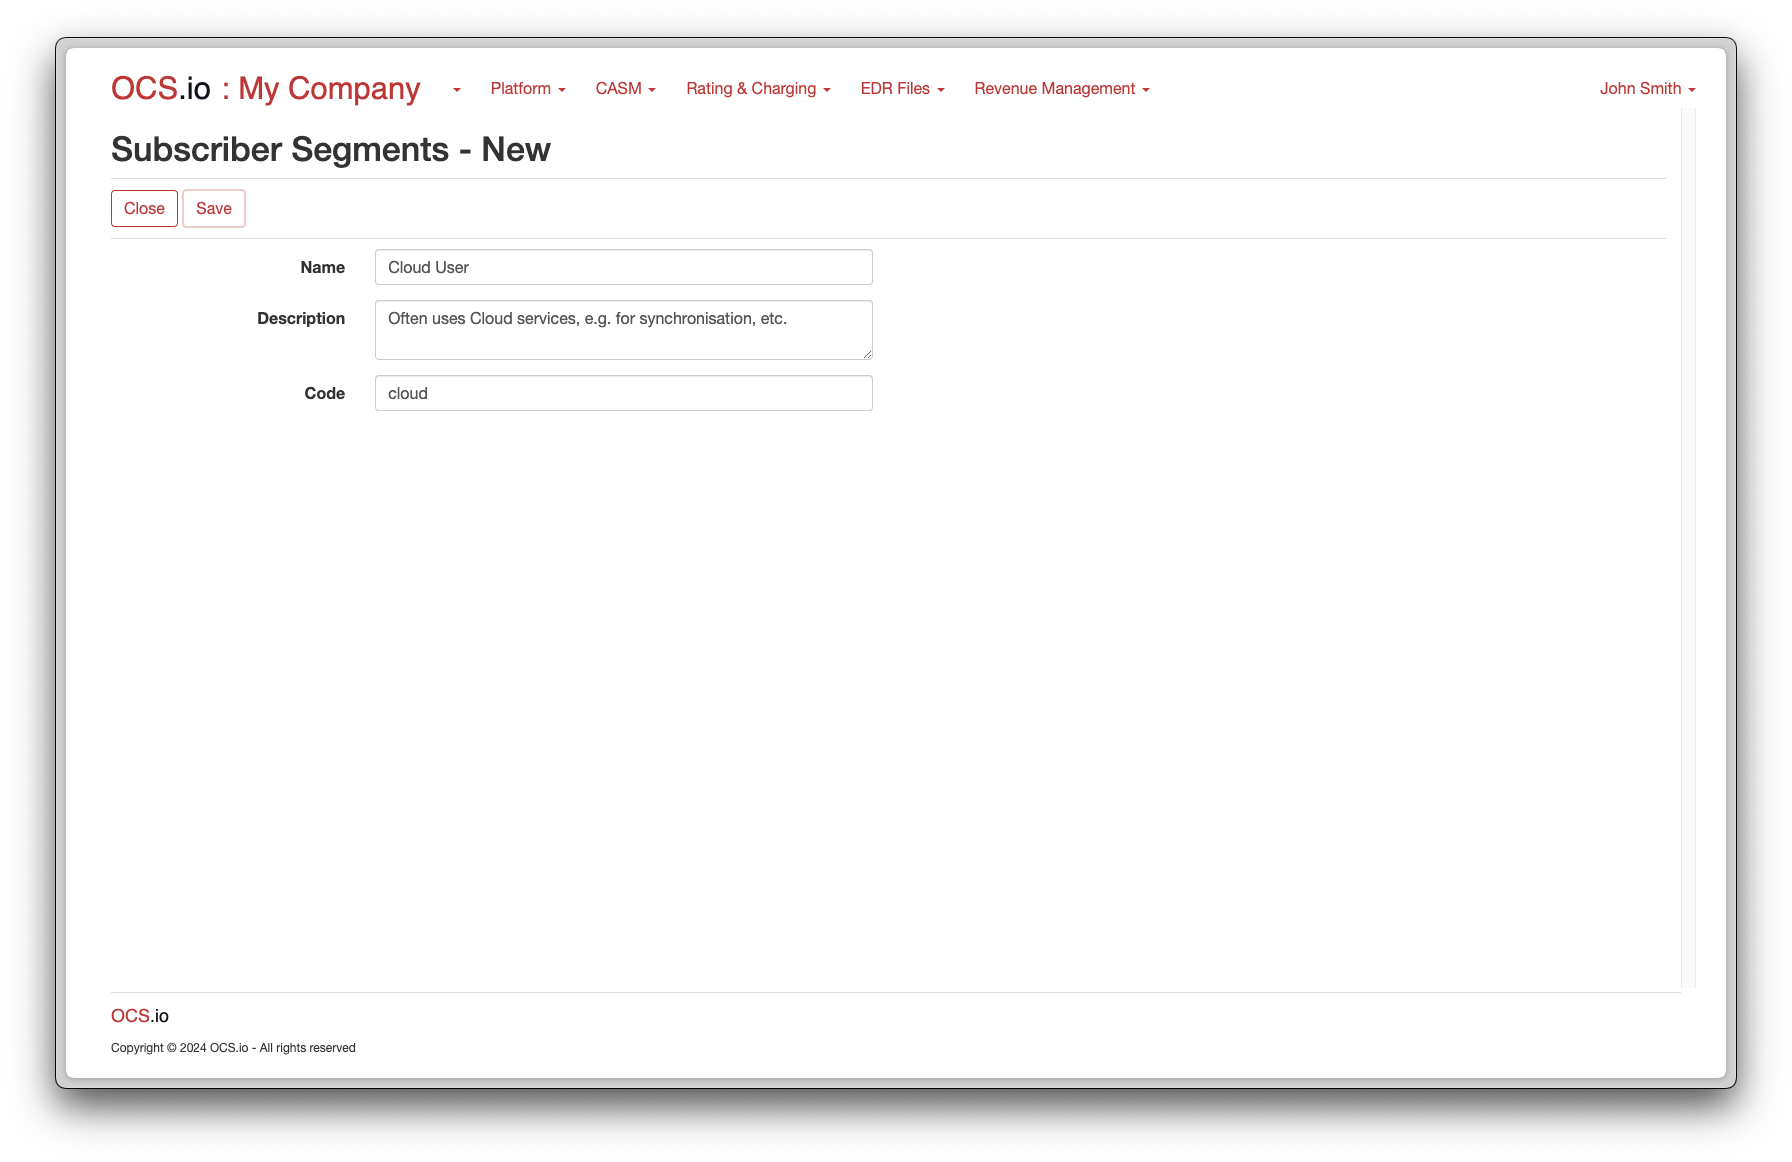
Subscriber Segments
In OCS.io, a Subscriber can be linked with a Subscriber Segment to group them based on shared characteristics or attributes. By attaching a subscriber with a segment, operators can easily target these groups with customized offerings that cater to their specific needs and preferences.
| More about Segments is described here. |
To configure Subscriber Segments, follow these steps:
-
Access the Integration Configuration perspective in your system’s user interface.
-
Select the menu .
-
Click on the + (New) button to create a new Subscriber Segment.
-
Fill in the required information in the form:
| Item | Description |
|---|---|
Name |
Enter the name of the Subscriber Segment. |
Description |
Optionally, enter the description of the Subscriber Segment. |
Code |
Enter the code of the Subscriber Segment. This code is used for integrating purposes and may not be changed later. |
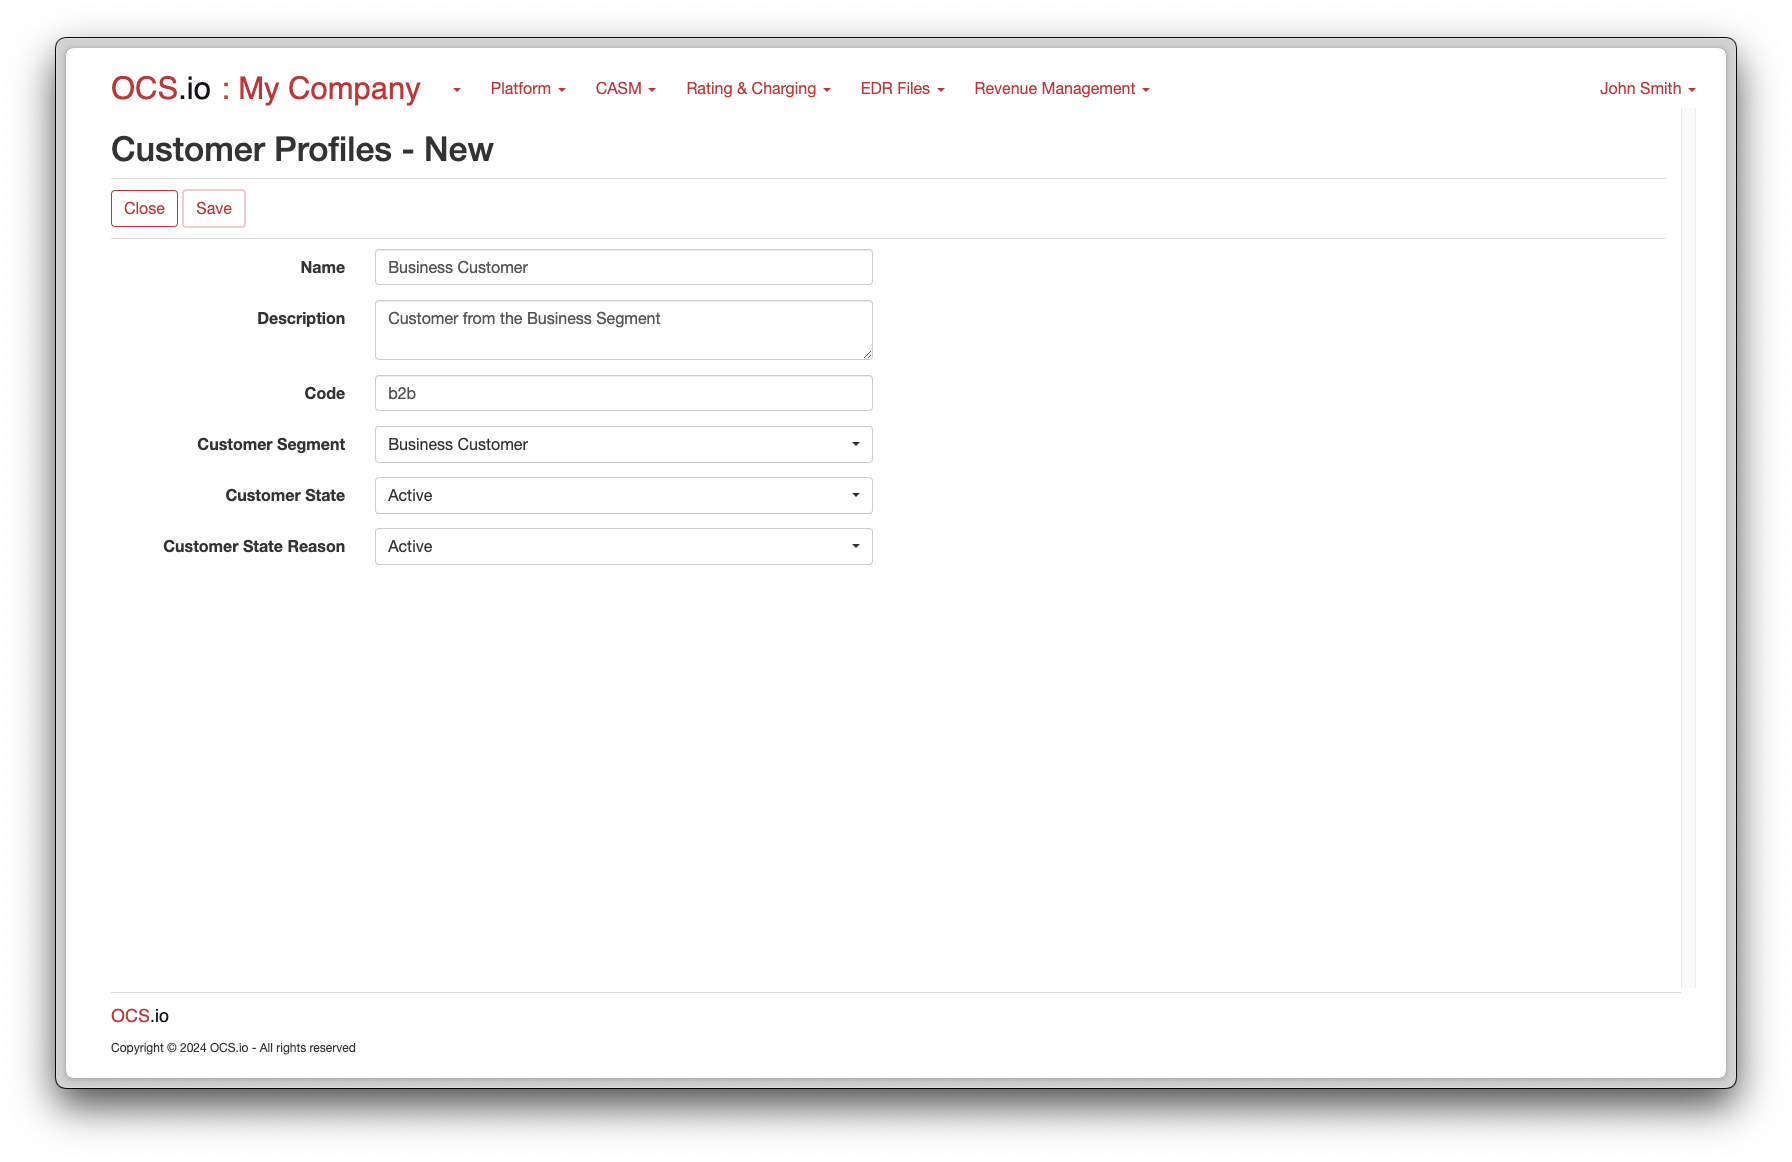
Customer Profiles
In OCS.io, Customer Profiles are used to define the structure and characteristics of a customer in the system. Using profiles, accounts can be created with predefined attributes, such as customer segment, initial state, etc., making the creation process faster and more consistent.
By configuring Customer Profiles, you can streamline the onboarding process for new customers, ensure accurate categorization and assignment, and maintain consistency across your customer base.
| For more information on how profiles are used in OCS.io, refer to the documentation on CASM Profiles. |
To configure Customer Profiles, follow these steps:
-
Access the Integration Configuration perspective in your system’s user interface.
-
Select the .
-
Click on the + (New) button to create a new customer profile.
-
Fill in the required information in the form:
| Item | Description |
|---|---|
Name |
Enter the name of the Customer Profile. |
Description |
Optionally, enter the description of the Customer Profile. |
Code |
Enter the code of the Customer Profile. This code is used for integrating purposes and may not be changed later. |
Customer Segment |
Choose the customer segment to which the newly created customer will be assigned. |
Customer State |
Choose the state to be assigned to the newly created customer. |
Customer State Reason |
Choose the reason for the customer’s state assignment. |
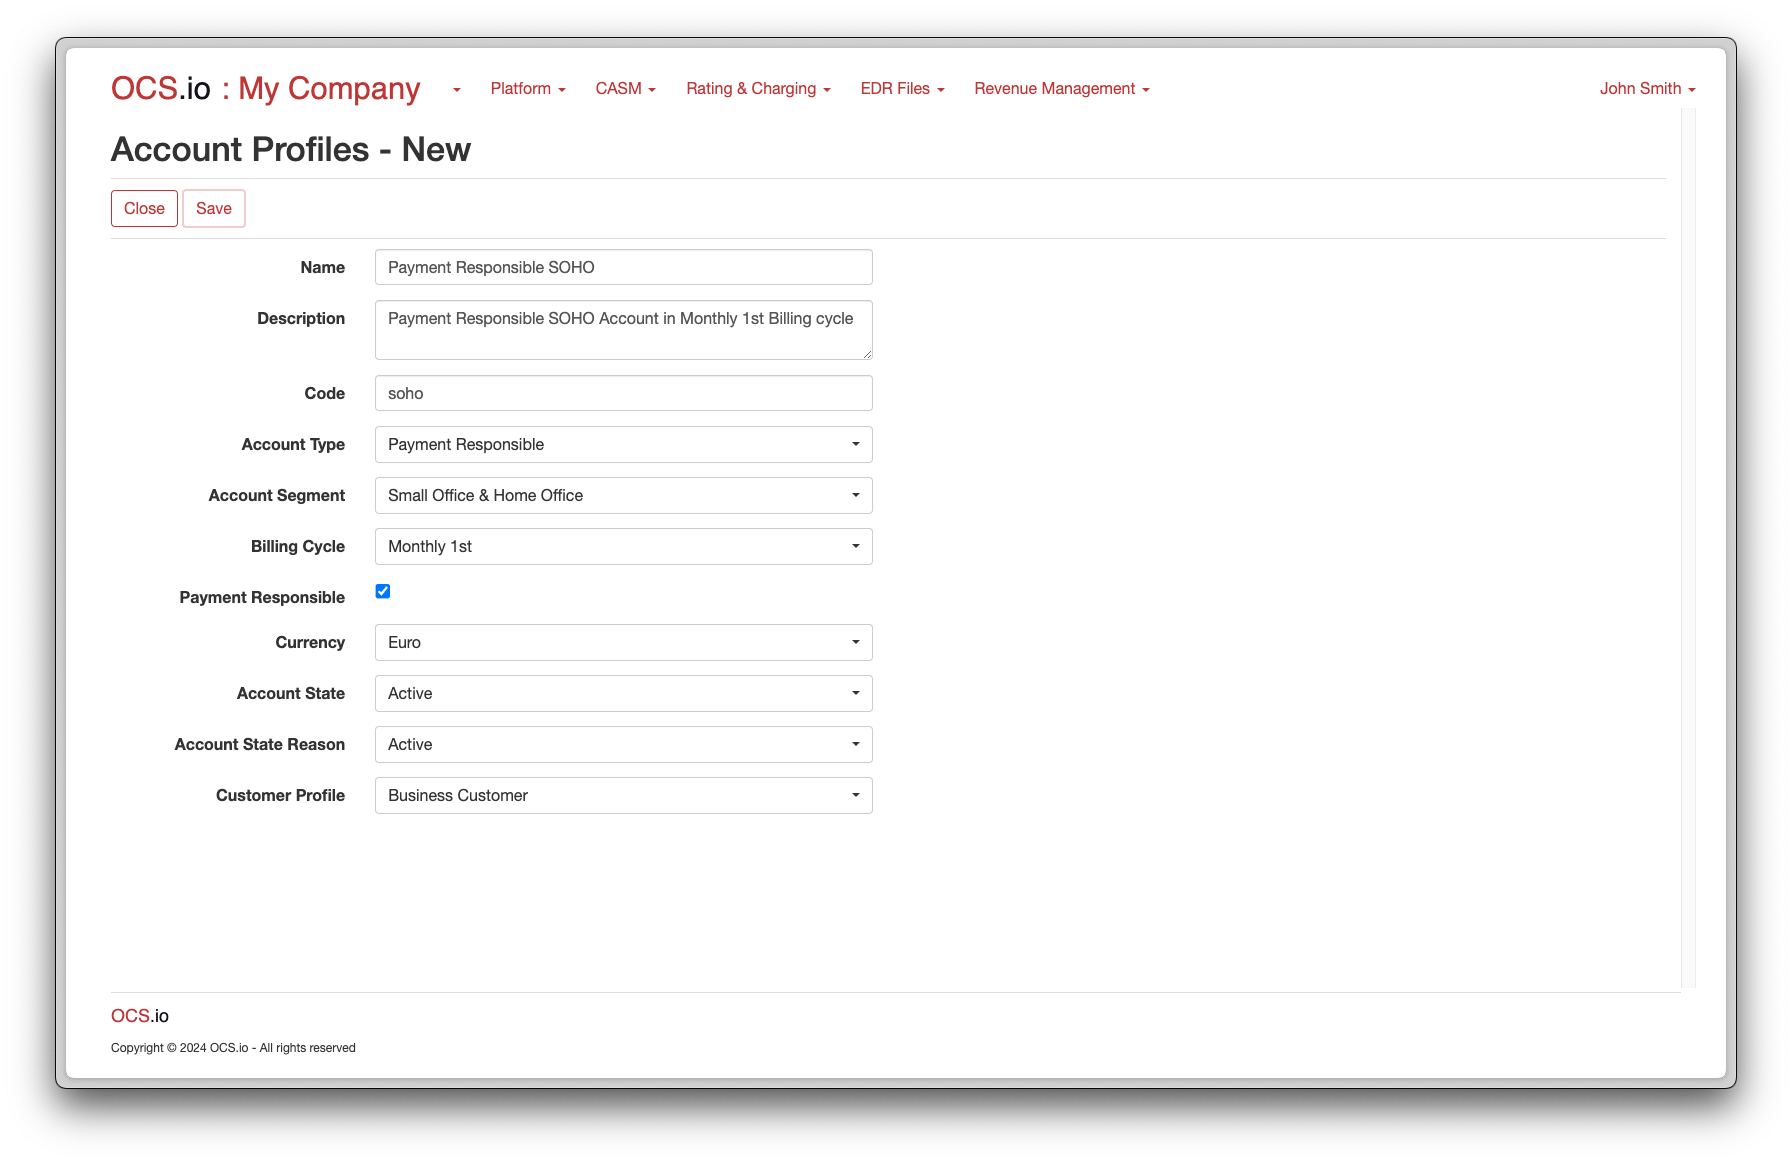
Account Profiles
In OCS.io, Account Profiles are used to define the structure and characteristics of an account in the system. Using profiles, accounts can be created with predefined attributes, such as billing cycle, account segment, initial state, etc., making the creation process faster and more consistent.
By configuring Account Profiles, you can streamline the onboarding process for new accounts, ensure accurate categorization and assignment, and maintain consistency across your account base.
| For more information on how profiles are used in OCS.io, refer to the documentation on CASM Profiles. |
To configure Account Profiles, follow these steps:
-
Access the Integration Configuration perspective in the OCS.io user interface.
-
Select the .
-
Click on the + (New) button to create a new Account Profile.
-
Fill in the required information in the form:
| Item | Description |
|---|---|
Name |
Enter the name of the Account Profile. |
Description |
Optionally, enter the description of the Account Profile. |
Code |
Enter the code of the Account Profile. This code is used for integrating purposes and cannot be changed later. |
Account Type |
Choose the Account Type to be assigned to the newly created Account. |
Account Segment |
Choose the Account Segment to be assigned to the newly created Account. |
Billing Cycle |
Choose the Billing Cycle to be assigned to the newly created Account. |
Payment Responsible |
Check this box if the newly created Account should be marked as Payment Responsible. |
Currency |
Choose the Currency to be assigned to the newly created Account. |
Account State |
Choose the State to be assigned to the newly created Account. |
Account State Reason |
Choose the Reason to be assigned to the newly created Account’s State. |
Customer Profile |
Choose the Customer Profile based on which a superior Customer will be created for the newly created Account. |
Subscriber Profiles
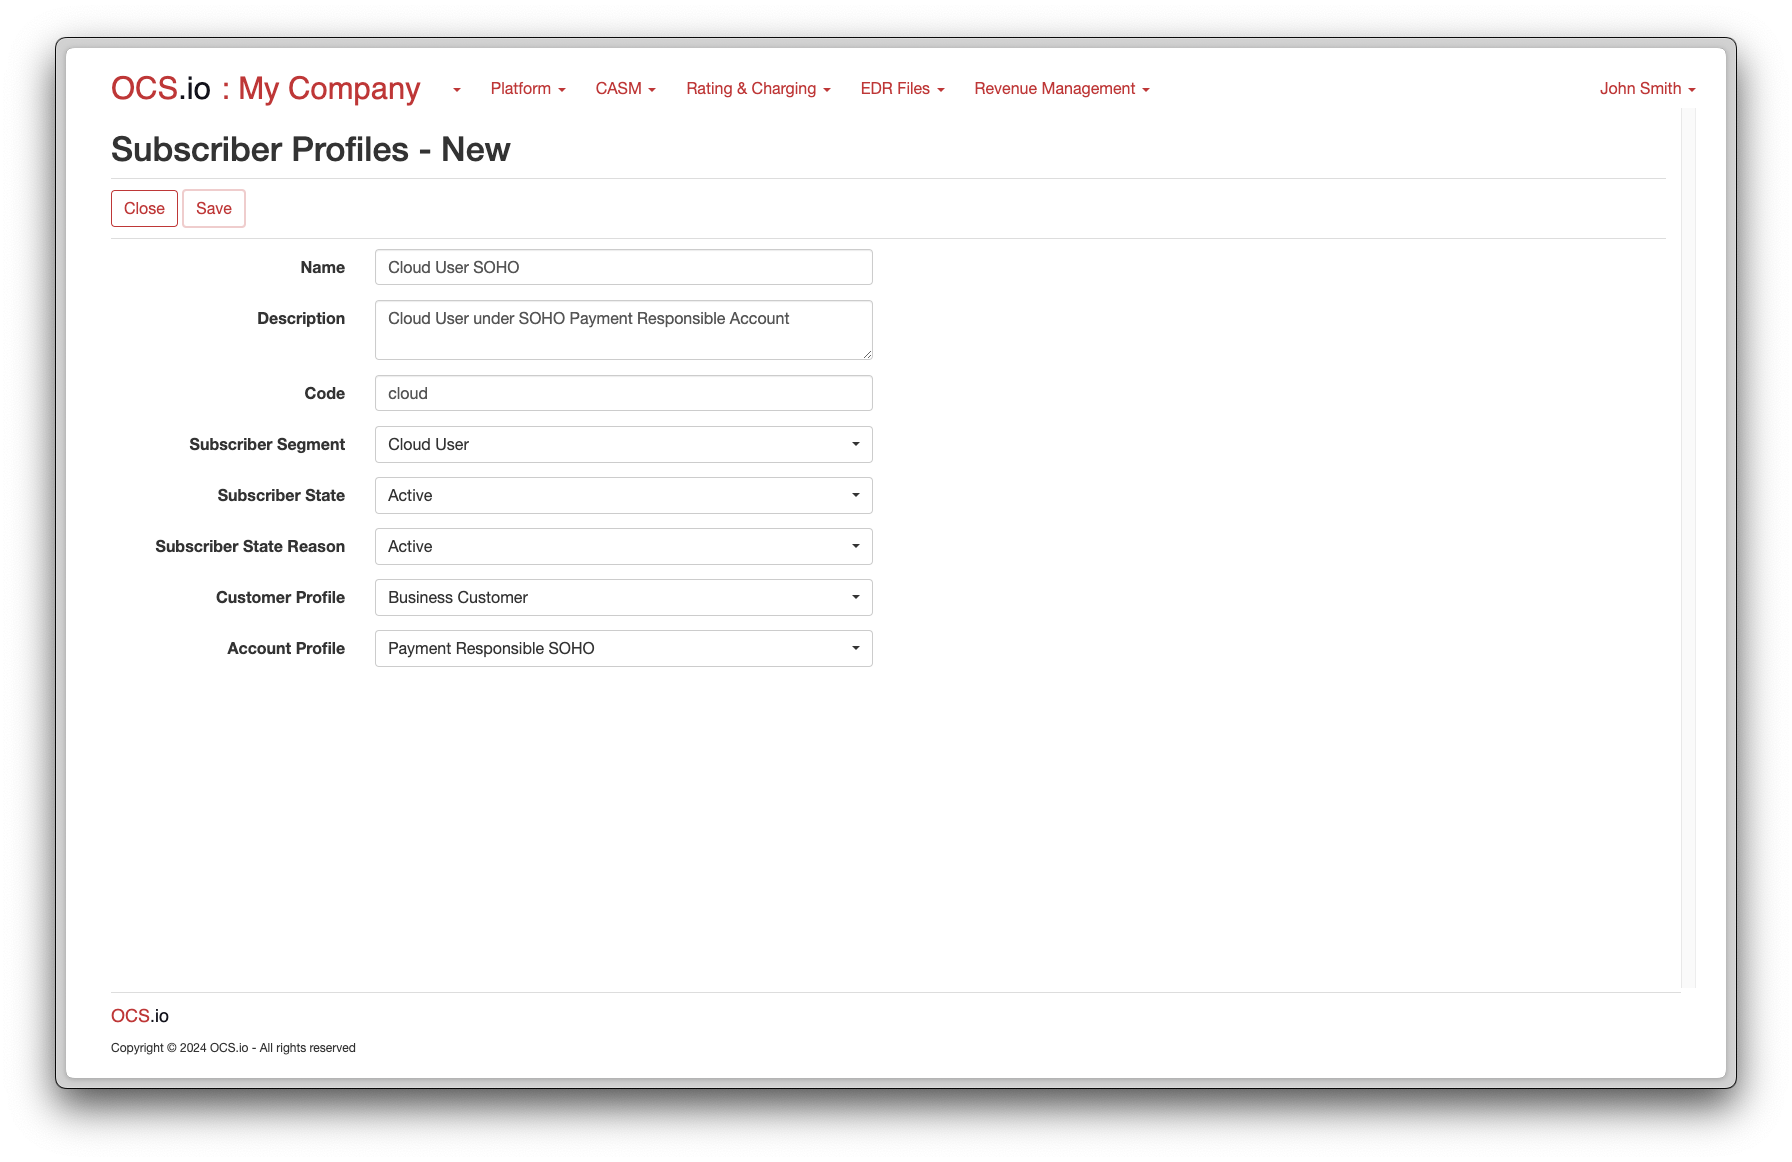
In OCS.io, Subscriber Profiles are used to define the structure and characteristics of a subscriber in the system. Using profiles, subscribers can be created with predefined attributes, such as customer segment, initial state, etc., making the creation process faster and more consistent.
By configuring Subscriber Profiles, you can streamline the onboarding process for new subscribers, ensure accurate categorization and assignment, and maintain consistency across your subscriber base.
| For more information on how profiles are used in OCS.io, refer to the documentation on CASM Profiles. |
To configure Subscriber Profiles, follow these steps:
-
Access the Integration Configuration perspective in your system’s user interface.
-
Select the menu .
-
Click on the + (New) button to create a new Subscriber Profile.
-
Fill in the required information in the form:
| Item | Description |
|---|---|
Name |
Enter the name of the Subscriber Profile. |
Description |
Optionally, enter the description of the Subscriber Profile. |
Code |
Enter the code of the Subscriber Profile. This code is used for integrating purposes and may not be changed later. |
Subscriber Segment |
Choose the Subscriber Segment to which the newly created Subscriber will be assigned. |
Subscriber State |
Choose the State to be assigned to the newly created Subscriber. |
Subscriber State Reason |
Choose the State Reason to be assigned to the newly created Subscriber’s State. |
Account Profile |
Choose the Account Profile based on which a superior Account will be created for the newly created Subscriber. |